
Are you prepared to make significant improvements to your blog? If you want more control, flexibility, and customization choices for your site, switching from WordPress.com to a platform that you host on your own can give you those things. We will walk you through the process of migrating your blog from WordPress.com to a self-hosted platform in this blog post. The procedure can be broken down into four simple phases. So, let’s get started!
Preparing Your WordPress.com Blog for the Move
Before you start moving your blog from WordPress.com to a self-hosted platform, there are a few important steps you should take:
To avoid any potential loss of data during the move, it is crucial to back up your WordPress.com blog. This can be done by accessing the Settings > Export menu in your WordPress.com dashboard and selecting the option to export all content.
It is important to ensure that your WordPress.com theme is compatible with self-hosted platforms. Some themes may require additional modifications or may not work at all on self-hosted WordPress installations.
If you have made any customizations to your WordPress.com blog, such as adding custom CSS or modifying theme files, make sure to document these changes. This will help you recreate the same look and functionality on your self-hosted blog.
Plugins and widgets available on WordPress.com may not be supported on self-hosted platforms. Before moving your blog, remove any unnecessary plugins or widgets that may cause compatibility issues.
Exporting Your WordPress.com Content
To begin the process of moving your blog to a self-hosted platform, you’ll need to export your WordPress.com content. Follow these steps:
- Use the built-in export tool in WordPress.com to create an XML file of your blog content. This file will include all your blog posts, pages, and media files.
- Consider exporting your media files separately to ensure a smooth transfer. Some hosting providers have limitations on file size, so it’s best to check and adjust accordingly.
- Once the export is complete, check the XML file to make sure all your content is included.
- Save the export file to your computer or cloud storage for future use. It’s always a good idea to keep a backup of your content.
By following these steps, you’ll have your WordPress.com content ready for the move to a self-hosted blog.
Importing Your WordPress.com Content to Your Self-Hosted Blog
Once you have prepared your WordPress.com blog for the move, it’s time to import your content to your self-hosted blog. Follow these steps:

- Choose a self-hosted platform and install WordPress – Select a hosting provider that supports WordPress and install the WordPress software on your chosen hosting platform. This will allow you to create your new self-hosted blog.
- Access the WordPress dashboard – Log in to the WordPress dashboard of your self-hosted blog. You can usually access it by going to “yourdomain.com/wp-admin” and logging in.
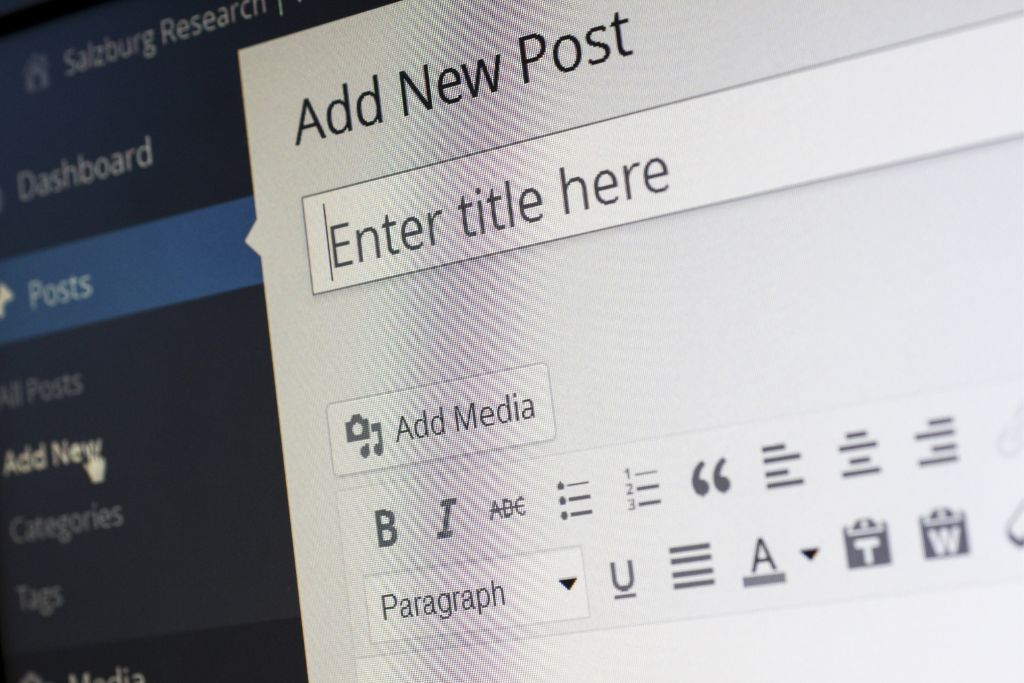
- Navigate to the import tool – In the WordPress dashboard, find the “Tools” section in the left-hand menu and click on “Import”. This will take you to the import tool.
- Upload the exported XML file – Look for the WordPress importer and click on “Run Importer”. Then, choose the exported XML file from your computer or cloud storage and click “Upload file and import”.
- Follow the import instructions – You may be prompted to assign authors to imported content or map import data to corresponding post elements. Follow the instructions provided by the importer to complete the import process.
- Review your imported content – Once the import process is complete, take some time to review your imported content. Check if all blog posts, pages, and media files have been successfully transferred to your self-hosted blog.
- Ensure everything looks as expected – Go through your self-hosted blog’s pages, posts, and media files to ensure that everything looks and functions as you intended. Make any necessary adjustments or fixes to maintain the consistency of your blog.
Finalizing the Move and Ensuring a Smooth Transition
Once you have successfully imported your WordPress.com content to your self-hosted blog, there are a few final steps to complete the move and ensure a seamless transition:
Make sure to update your domain settings to point to your new self-hosted blog. This will ensure that when visitors type in your domain name, they will be directed to your new blog.
It’s important to thoroughly test your new self-hosted blog to ensure all the links and functionalities are working correctly. Check that your blog posts, pages, images, and any other media files are displaying properly. Test the navigation, search functionality, and any interactive elements to make sure everything is functioning as it should.
To ensure a smooth transition for your existing WordPress.com blog visitors, consider using a notification or automatic redirect. This will inform them of your move and redirect them to your new self-hosted blog. This way, you won’t lose any of your loyal readers during the transition.
![]()
After the move, it’s essential to actively monitor your self-hosted blog for any issues or errors. Regularly check for broken links, formatting problems, or any other technical issues that may arise. By promptly resolving any issues, you can maintain a positive user experience on your new blog.
By following these steps, you can successfully move your blog from WordPress.com to a self-hosted platform. Enjoy the flexibility, customization options, and control that self-hosted blogging provides!
Staying up to date on tech advancements is essential when switching from WordPress.com to self-hosted. “Stay Ahead of the Curve: Technology Trends of 2023” illuminates digital trends. Bloggers seeking greater control and personalization can consider self-hosting. Bloggers can make strategic decisions by studying site hosting, security, and user experience trends. As we self-host, let’s remain ahead of technical advancements to optimize our blogs for 2023’s digital future.